
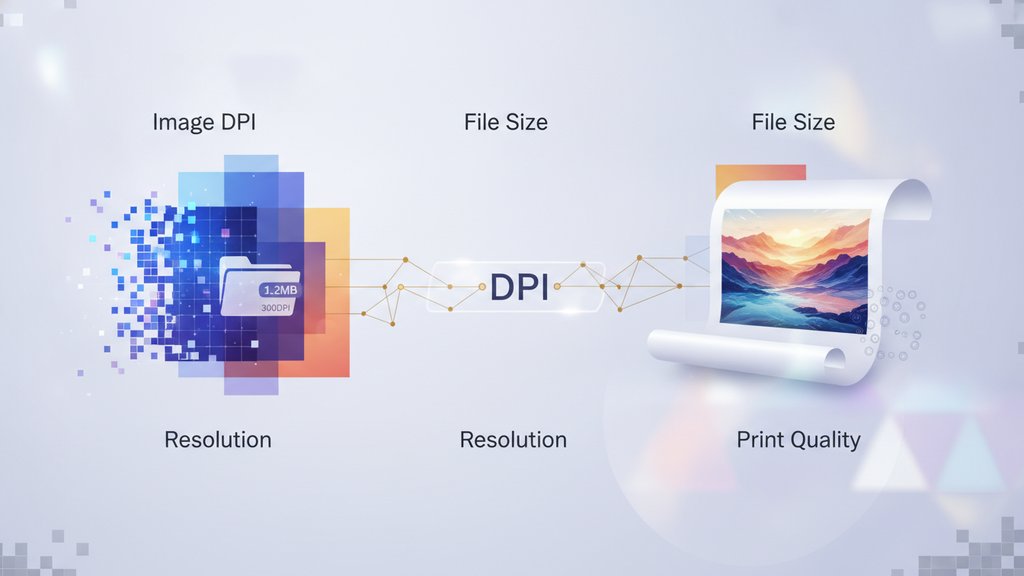
DPI stands for "dots per inch," and it measures how many ink dots a printer packs into every inch of a printed image. Higher DPI means more dots crammed into the same space, which gives you sharper, more detailed prints. The critical thing to know right away: DPI only matters for printing. On a screen, DPI has zero effect on how your image looks, and that single fact clears up most of the confusion around image resolution and file size.
Content Table
What DPI actually measures
A printer creates images by spraying or pressing tiny dots of ink onto paper. DPI counts how many of those dots fit into one linear inch. A 300 DPI print lays down 300 dots across every inch, so a 3-inch-wide photo contains 900 dots edge to edge. Squeeze more dots into that same inch and edges look smoother, gradients blend better, and fine text stays crisp.
Think of it like screen printing a T-shirt versus painting with a fat marker. More, smaller dots let you render detail your eye can actually resolve. Below roughly 150 DPI, most people start noticing softness or a slightly "pixelated" look when they hold a print close.
DPI vs resolution vs PPI
People throw "DPI" and "resolution" around like they mean the same thing, but they don't. Here's the clean breakdown for the dpi vs resolution question:
- Resolution is the total pixel count of your image, written as width x height, like 3000 x 2000 pixels. This is the raw amount of visual data you have.
- PPI (pixels per inch) is how many of those pixels you spread across each printed inch. This is really the number software uses when you print.
- DPI (dots per inch) is what the printer hardware does with ink to reproduce those pixels.
In everyday use, most people say "DPI" when they technically mean PPI. Photoshop, printers, and even camera settings blur the two. The practical rule: your pixel dimensions and your intended print size together decide print quality. PPI is just those two numbers divided.
PPI = pixel width ÷ print width in inches. A 3000-pixel-wide photo printed at 10 inches wide is 300 PPI. Print that same file at 30 inches wide and it drops to 100 PPI.
Why 72 DPI and 300 DPI confuse everyone
You've probably heard "use 72 DPI for web, 300 DPI for print." Half of that advice is a myth. The 72dpi vs 300dpi debate breaks down like this:
- Screens don't care about DPI. A monitor displays your image pixel for pixel. A 1920 x 1080 photo fills a 1080p screen the same way whether the file is tagged 72 DPI or 3000 DPI. The DPI number stored in the file is completely ignored on screen.
- The "72 DPI" tag is a leftover from old Macintosh displays that showed roughly 72 pixels per inch. It stuck around as a habit, not a rule.
- 300 DPI (really 300 PPI) is the print sweet spot because it matches what the human eye can resolve at normal reading distance. Professional print shops ask for it for good reason.
So when someone compares screen resolution vs print resolution, the honest answer is that print vs web resolution isn't about DPI at all for the web side. For web, only pixel dimensions matter. For print, both pixel dimensions and physical size matter. The Wikipedia entry on DPI goes deeper if you want the full history.
Does DPI change file size?
Changing the DPI number alone does not change your file size or your image quality. If you have a 3000 x 2000 pixel photo and you switch the DPI tag from 72 to 300 without resampling, the file is byte-for-byte identical. The pixels didn't move.
What actually affects ppi file size is the pixel count and the compression:
| Change you make | Effect on file size |
|---|---|
| Edit the DPI/PPI tag only | None, pixels unchanged |
| Add more pixels (resample up) | Larger file, no real new detail |
| Remove pixels (resample down) | Smaller file, less detail |
| Increase JPEG/WebP compression | Smaller file, slight quality loss |
If your goal is a smaller file for email or a website without touching pixel dimensions, compression is the lever to pull. Reducing quality on a JPEG or WebP can cut file size by half or more while keeping the image visually intact for screen use.
How to size an image for print
To figure out the image size for print you need, work backwards from the physical dimensions and multiply by your target PPI:
- 4 x 6 photo at 300 PPI: 1200 x 1800 pixels
- 8 x 10 print at 300 PPI: 2400 x 3000 pixels
- A4 poster (8.3 x 11.7 in) at 300 PPI: ~2490 x 3510 pixels
- Large banner viewed from 6+ feet: 100 to 150 PPI is plenty
The rule is simple: print size in inches x desired PPI = pixels you need in that direction. If your source file has fewer pixels than that, you can still print it, just at a lower effective PPI, which means softer results the closer someone stands.
One nuance about print quality resolution: viewing distance changes everything. A billboard printed at 20 PPI looks flawless from across the street because you never get close. A wedding album needs the full 300 PPI because guests hold it inches from their faces.
DPI quick reference by use case
| Use case | Recommended PPI/DPI |
|---|---|
| Web and social media | Irrelevant, only pixel size matters |
| Standard photo prints | 300 PPI |
| Magazines and brochures | 300 PPI |
| Fine art giclée prints | 300 to 360 PPI |
| Posters viewed at arm's length | 150 to 200 PPI |
| Large banners and billboards | 50 to 150 PPI |
Bottom line: for anything on a screen, forget DPI entirely and focus on pixel dimensions. For print, make sure your pixel count supports your physical print size at the PPI your project demands. Get those two numbers right and the DPI tag takes care of itself.
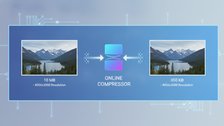
Shrink your image files without touching the pixels that matter
Since changing DPI won't reduce file size, use our free compressor to cut JPG, PNG, WebP, and HEIC sizes for web and email while keeping resolution and print quality intact.
Try the free image compressor →
No. Screens display images pixel for pixel and ignore the DPI tag entirely. A photo tagged 72 DPI and the same photo tagged 300 DPI look identical on any monitor or phone. On screen, only your pixel dimensions (like 1920 x 1080) affect how sharp the image appears.
You can change the tag, but it won't add detail. If the pixel count is too low for your print size, upsampling just guesses new pixels and produces soft results. A 300 DPI print needs enough real pixels, so a 900 x 600 image can't sharply fill an 8 x 10 no matter what number you type.
PPI (pixels per inch) describes how many image pixels you spread across each printed inch, and it's what your software uses. DPI (dots per inch) is how many ink dots the printer hardware lays down. Everyday tools use the terms interchangeably, but PPI is the one tied to your file's pixel data.
No. Editing only the DPI value leaves the pixels untouched, so the file stays the exact same size in bytes. To shrink a file, either reduce the pixel dimensions (resample down) or apply stronger compression on a JPEG or WebP, which lowers size while keeping the image usable on screen.
At the print-standard 300 PPI, an 8 x 10 needs 2400 x 3000 pixels. Multiply each side in inches by 300 to get the pixel target. If your source has fewer pixels you can still print it, but the effective PPI drops and the image looks softer up close.